The camera I was using for my Mercury Zero G printer was only a temporary one, as there were many other things that needed doing to complete the build. The ancient web camera I had used was good enough for me to remotely monitor my prints… until recently. Perhaps it was the frequent heat cycles but it packed up never to work again. However whilst salvaging a broken laptop for parts I noticed the web camera in the laptop lid above the screen had the wiring labeled and they seem to be similar to a usb port i.e: they had two wires for power and two wires for data.

A quick search on Google and this video from You-Tube confirmed I was right, it is indeed a usb interface. Not only is it super slim, it’s also quite a high spec one too with HD image, low light abilities, a short focal length and a fast autofocus. This seemed to be the perfect replacement camera for the Zero G printer. I just had to work out a way to mount it.

A quick test to see it works by soldering it to a 4 pin usb-c connector and a quick print to confirm I could print to the correct dimensions and use the hole in the PCB to utilise a M2 bolt to attach it, I started to formulate a design in my head.
Having struggled with the limitations of the previous camera and the mounting restrictions the bulky camera provided, I was definitely going to make the most of the slim form factor of this camera. I wanted something I could adjust and also unplug the cable when unplugging it from the Klipper computer. And with only a couple of test prints to check tolerances; the adjustable camera stand was done.


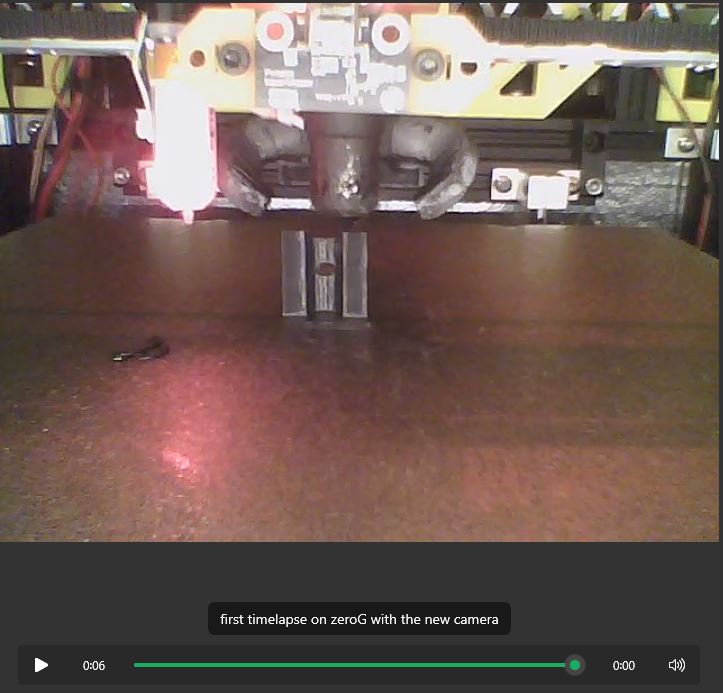
With that now complete… i felt it was good enough to do timelapses again…
Since you have stuck around for the whole article… here it is:
You must be logged in to post a comment.